Setting up a canvas bell tent in winter and installing a wood stove can create a cozy and comfortable camping experience, even in cold weather. Here are some tips to ensure a safe and enjoyable setup:
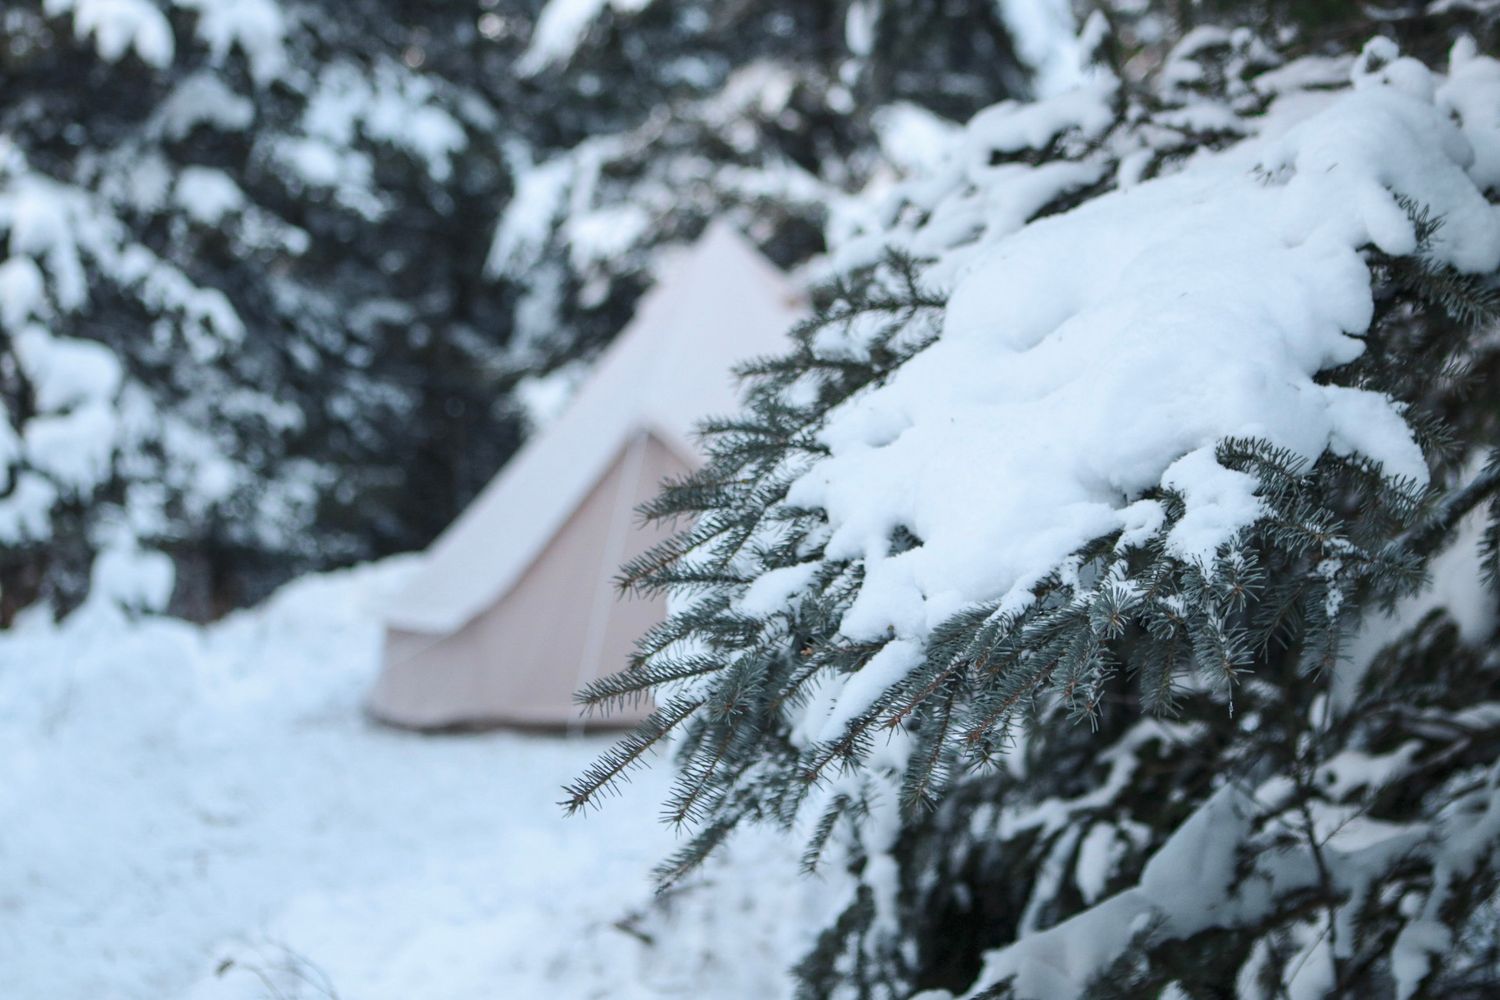
Choosing the Location
Flat Surface: Look for a level area to set up your tent. A flat surface is crucial for several reasons:
- Stability: Ensures the stability of the tent and prevents uneven stress on the fabric and poles, which could lead to damage or collapse.
- Comfort: Sleeping and moving around inside the tent is more comfortable and safer on a level surface.
- Wood Stove Safety: When installing a wood stove, a flat surface is essential to keep the stove stable and upright, reducing the risk of tipping over and potentially causing a fire or burning the tent fabric.
Shelter from the Wind: Seek natural windbreaks like trees or hillsides, but be mindful of potential hazards such as falling branches. Avoid exposed hilltops or open areas where wind can be stronger.
High Ground: Avoid setting up in low-lying areas that could collect water or become snow traps. Water pooling or significant snow accumulation around your tent could lead to problems with dampness and cold.
Orientation: Position the tent door away from prevailing winds for added warmth and to prevent snow from blowing into the tent when entering or exiting. If possible, orient the tent to capture the morning sun, which can help warm the interior.
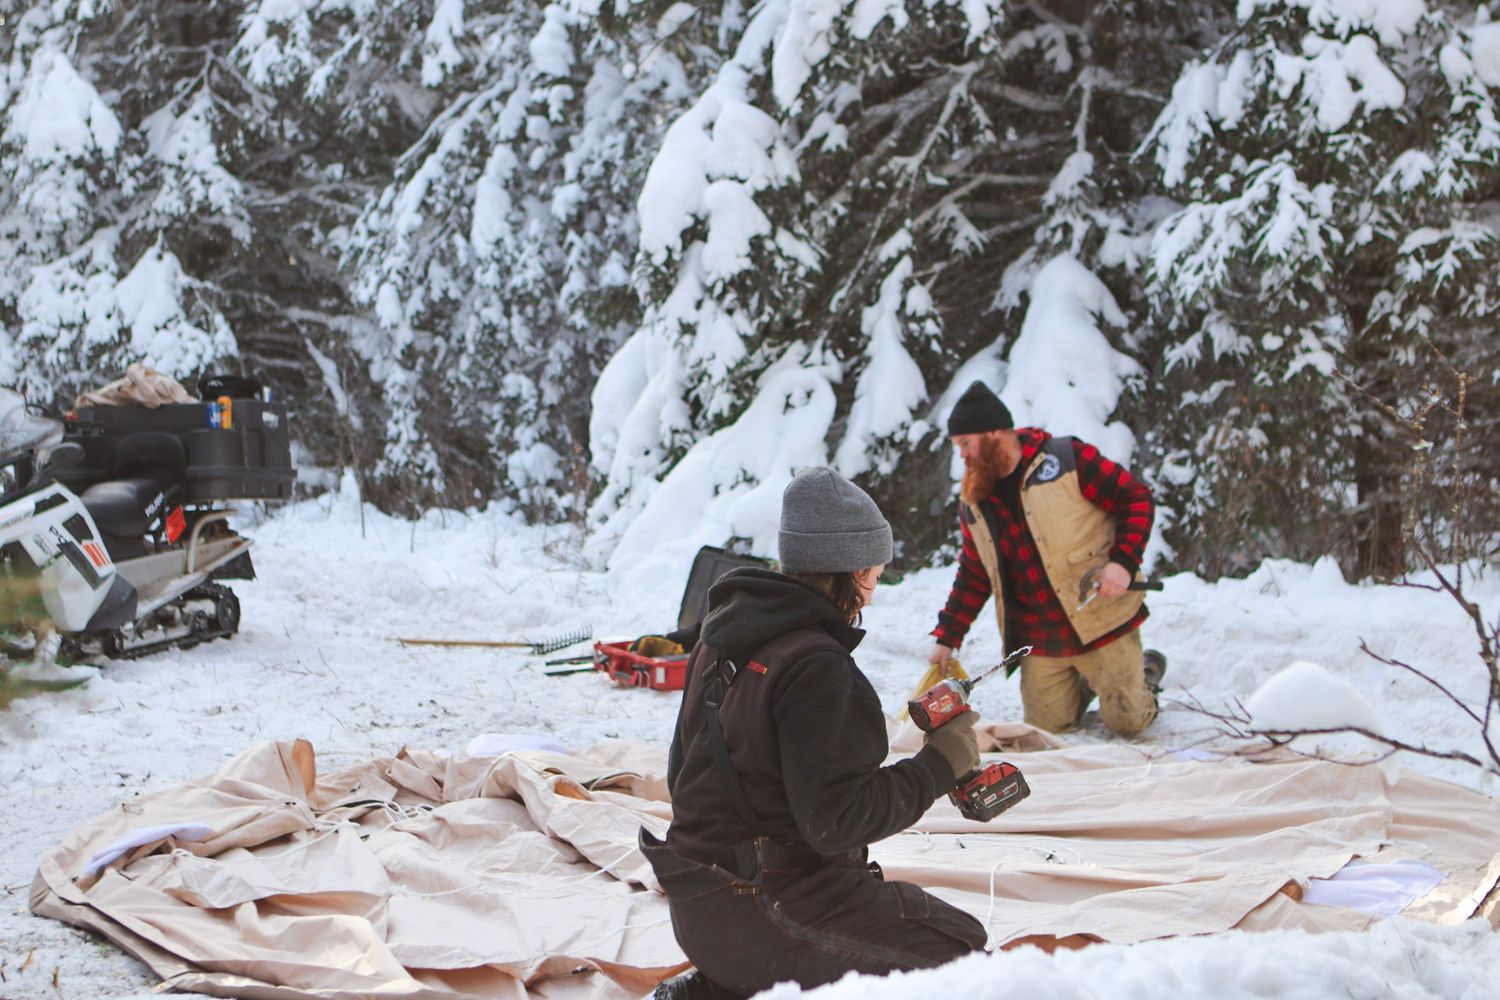
Setting Up the Tent
Insulation: Use a groundsheet or insulated pad underneath your tent to minimize cold transfer from the ground. Consider adding rugs or carpets inside for extra warmth.
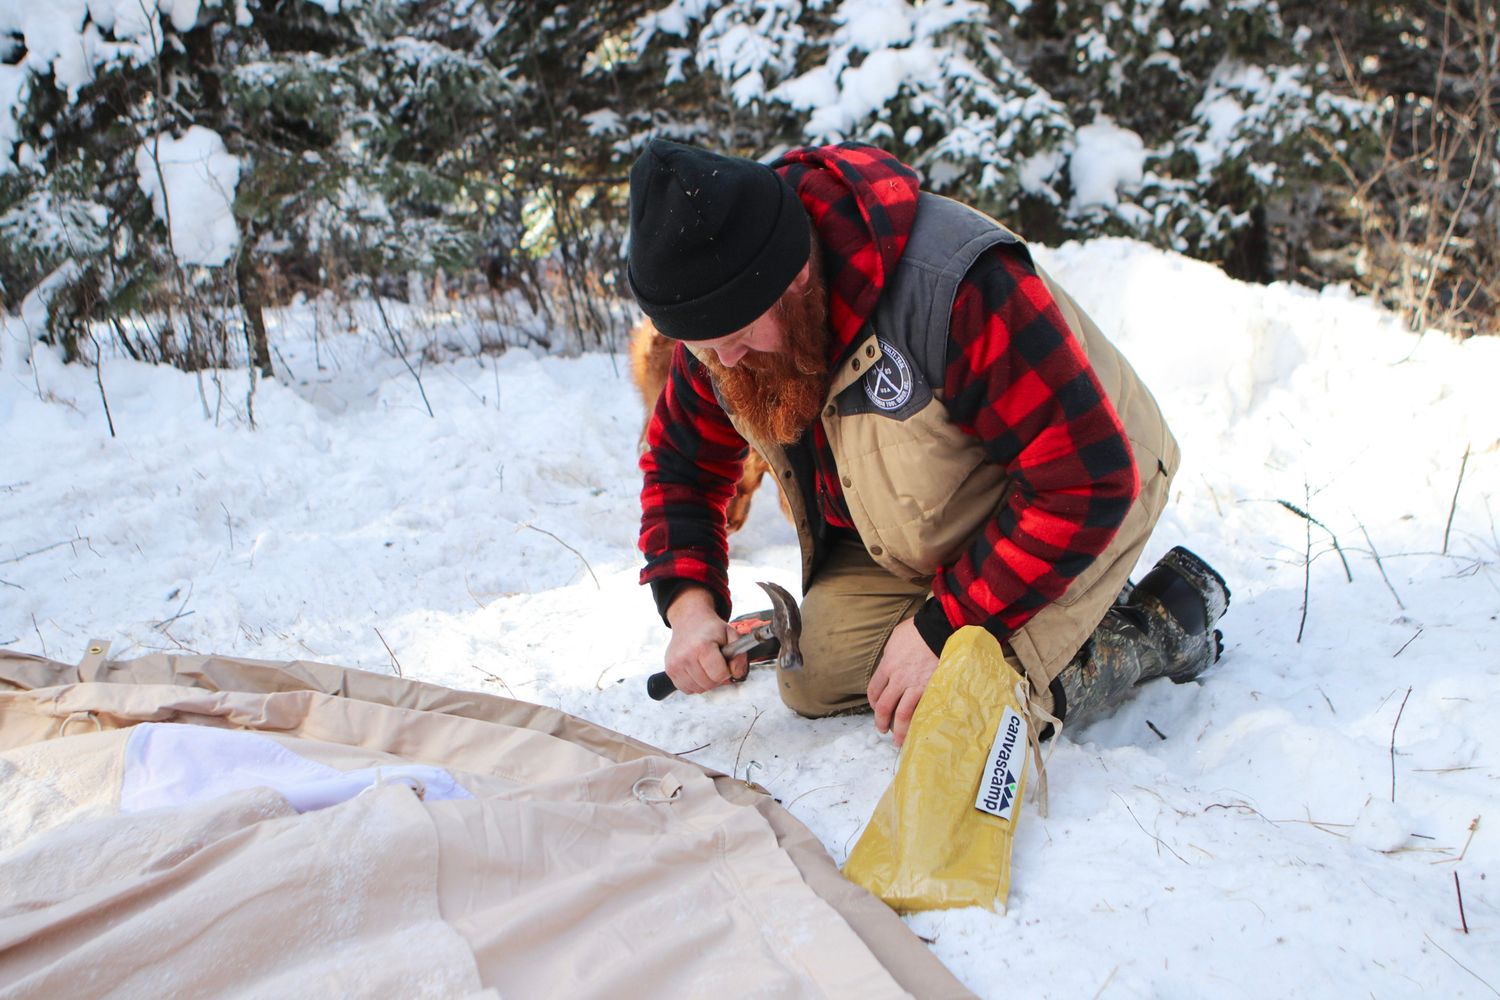
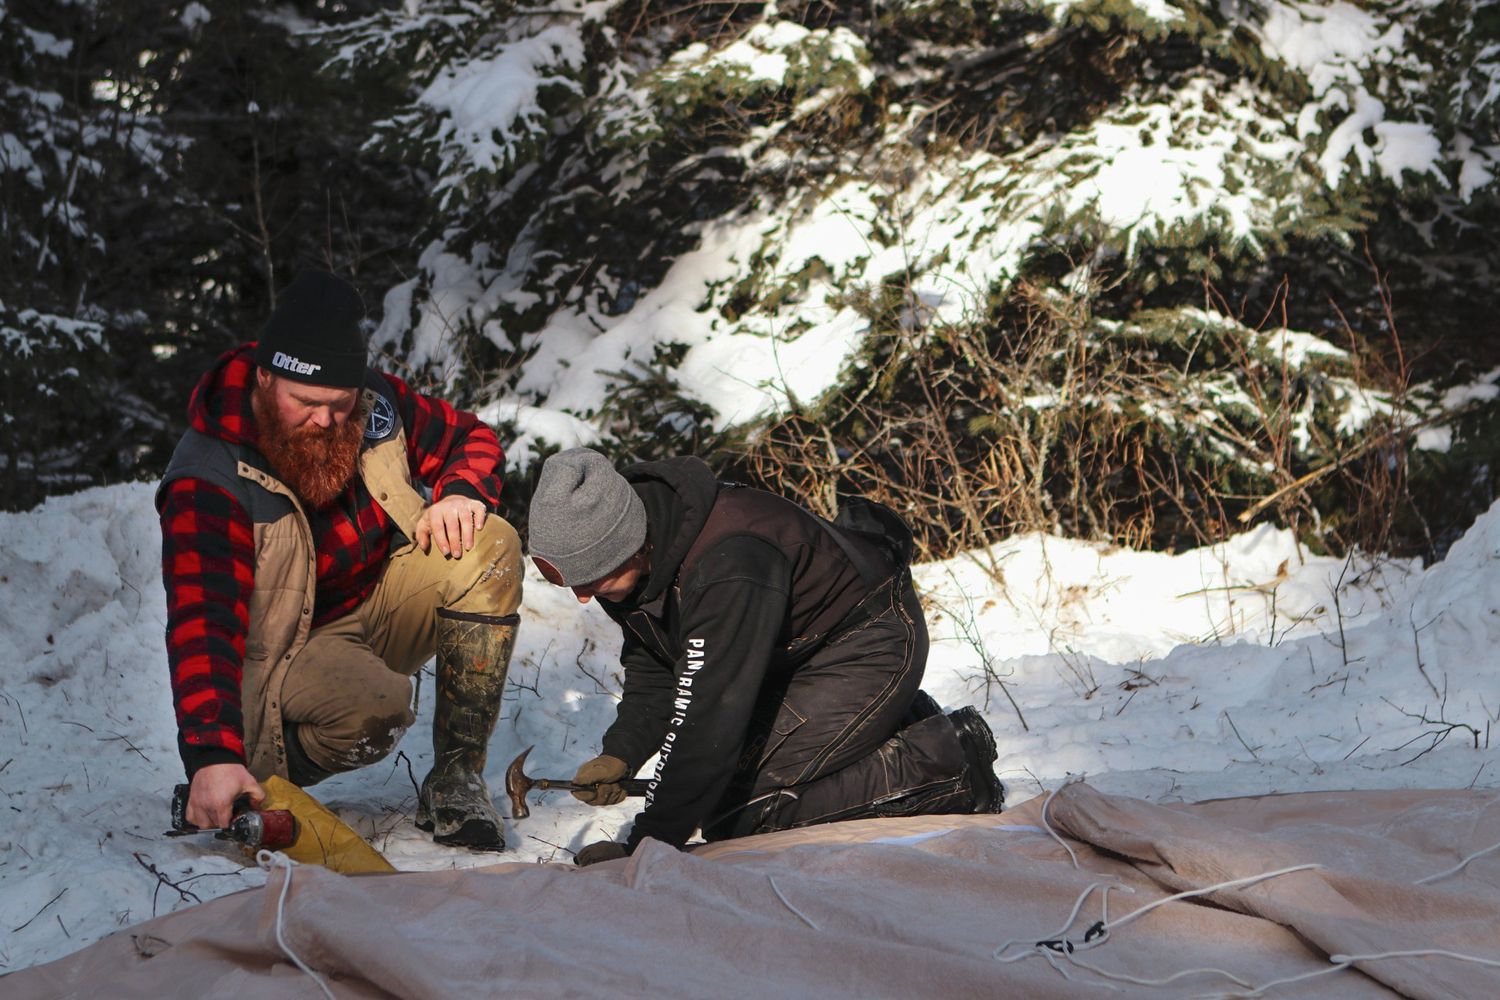
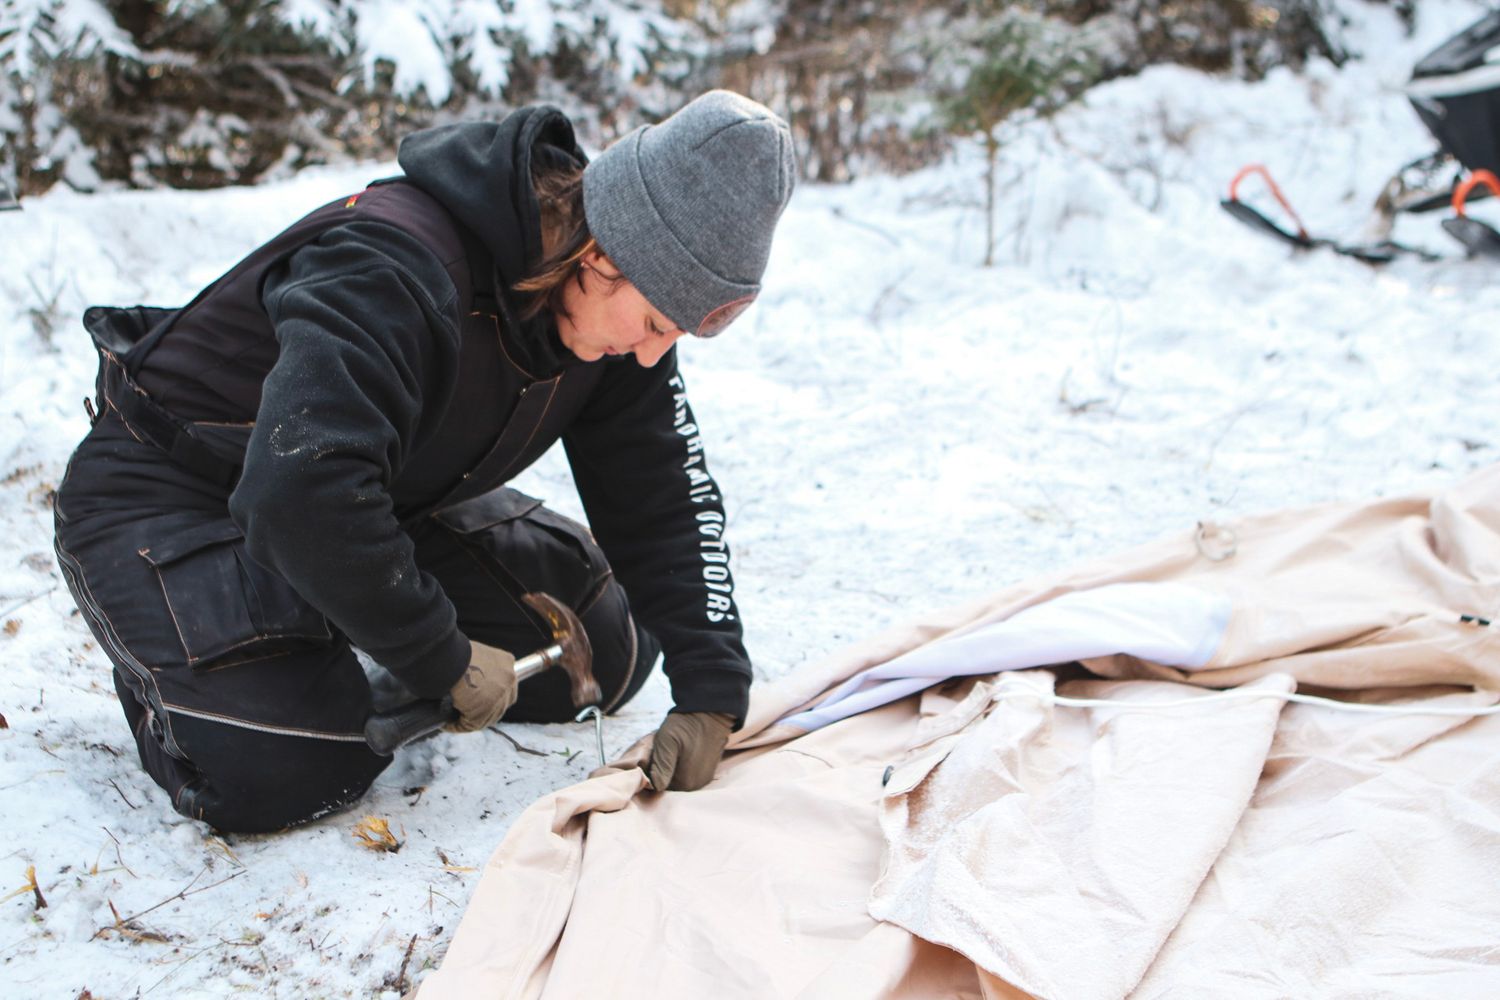
Secure Anchoring: Winter winds can be strong, so ensure your tent is securely anchored. Use longer stakes or snow anchors if you're setting up in snow.
Ventilation: Even in winter, proper ventilation is crucial to prevent condensation inside the tent. Ensure that any vents are clear of snow and can allow air circulation.
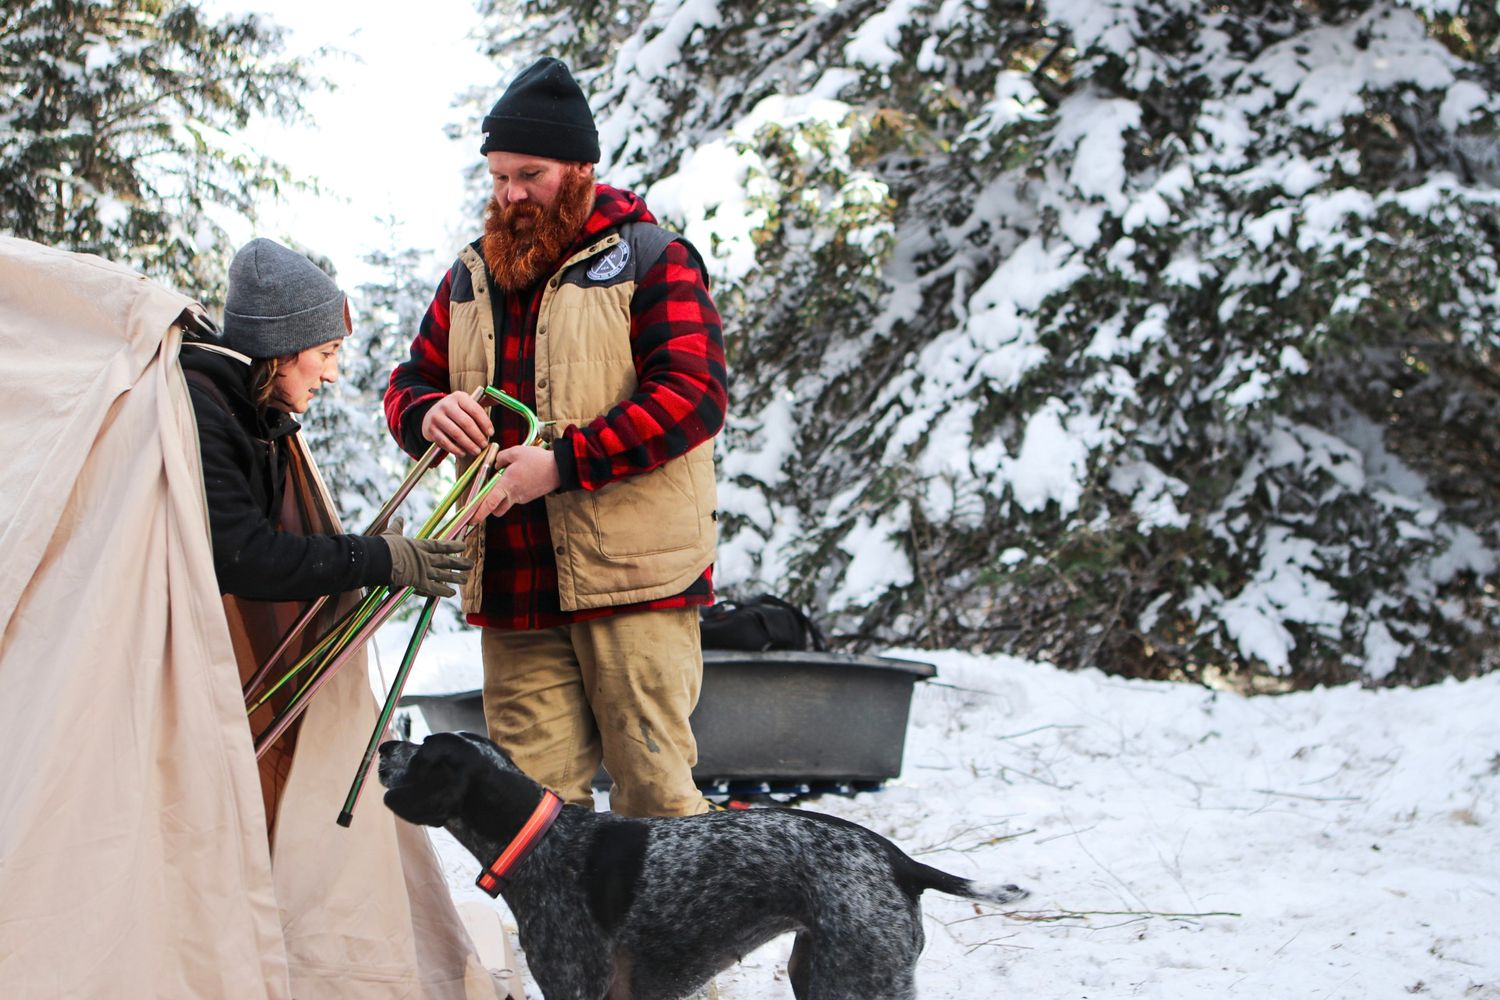
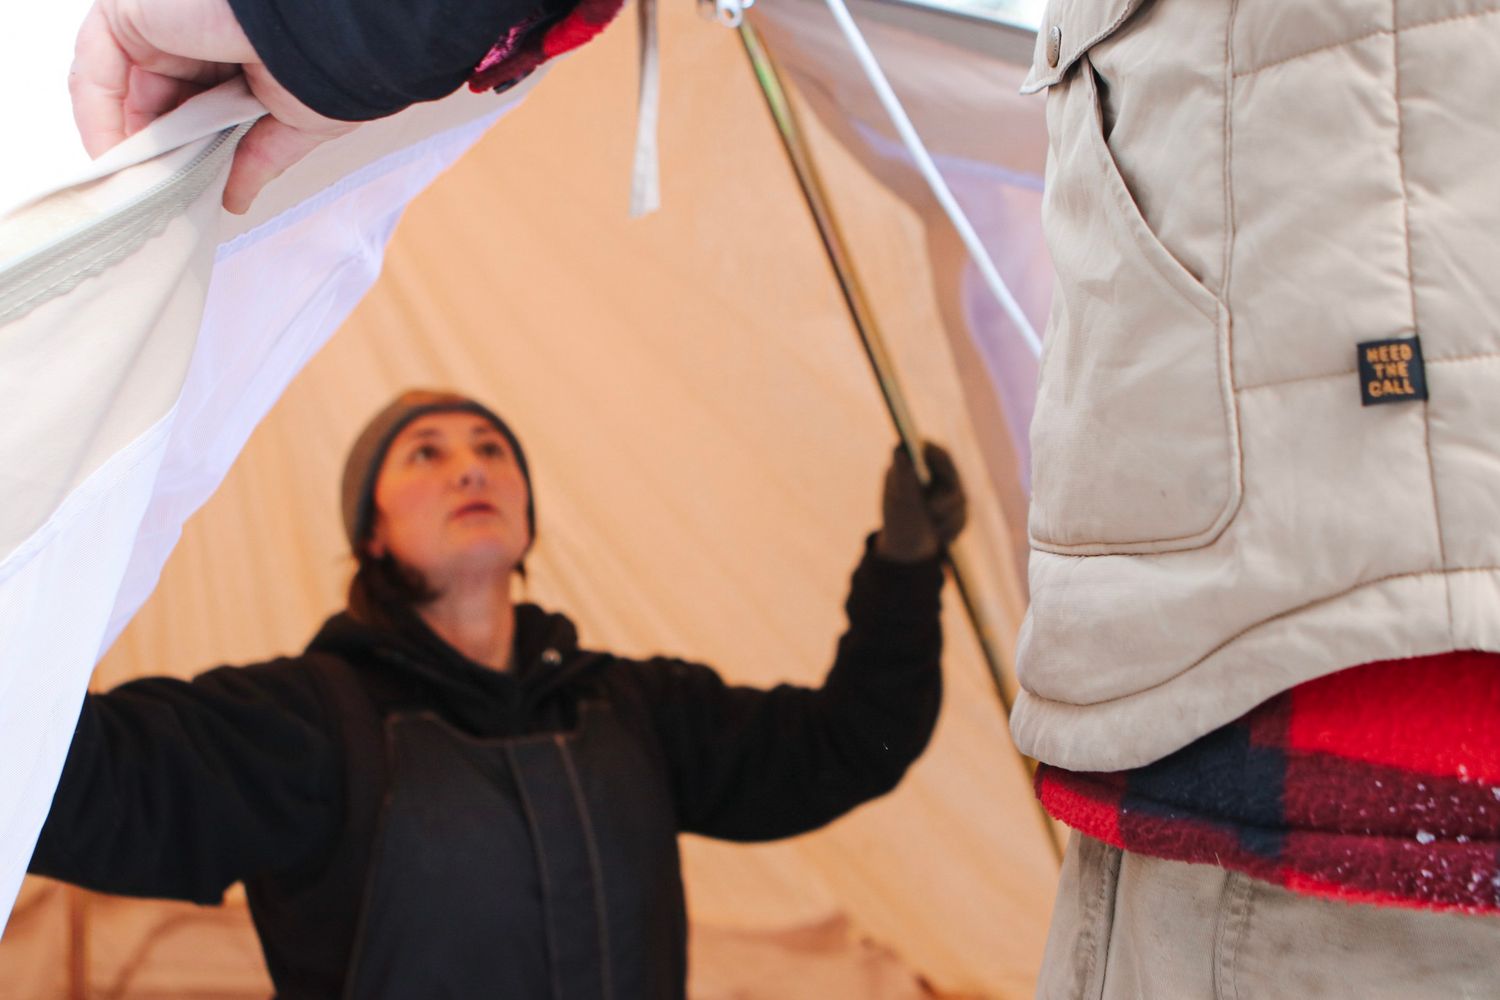
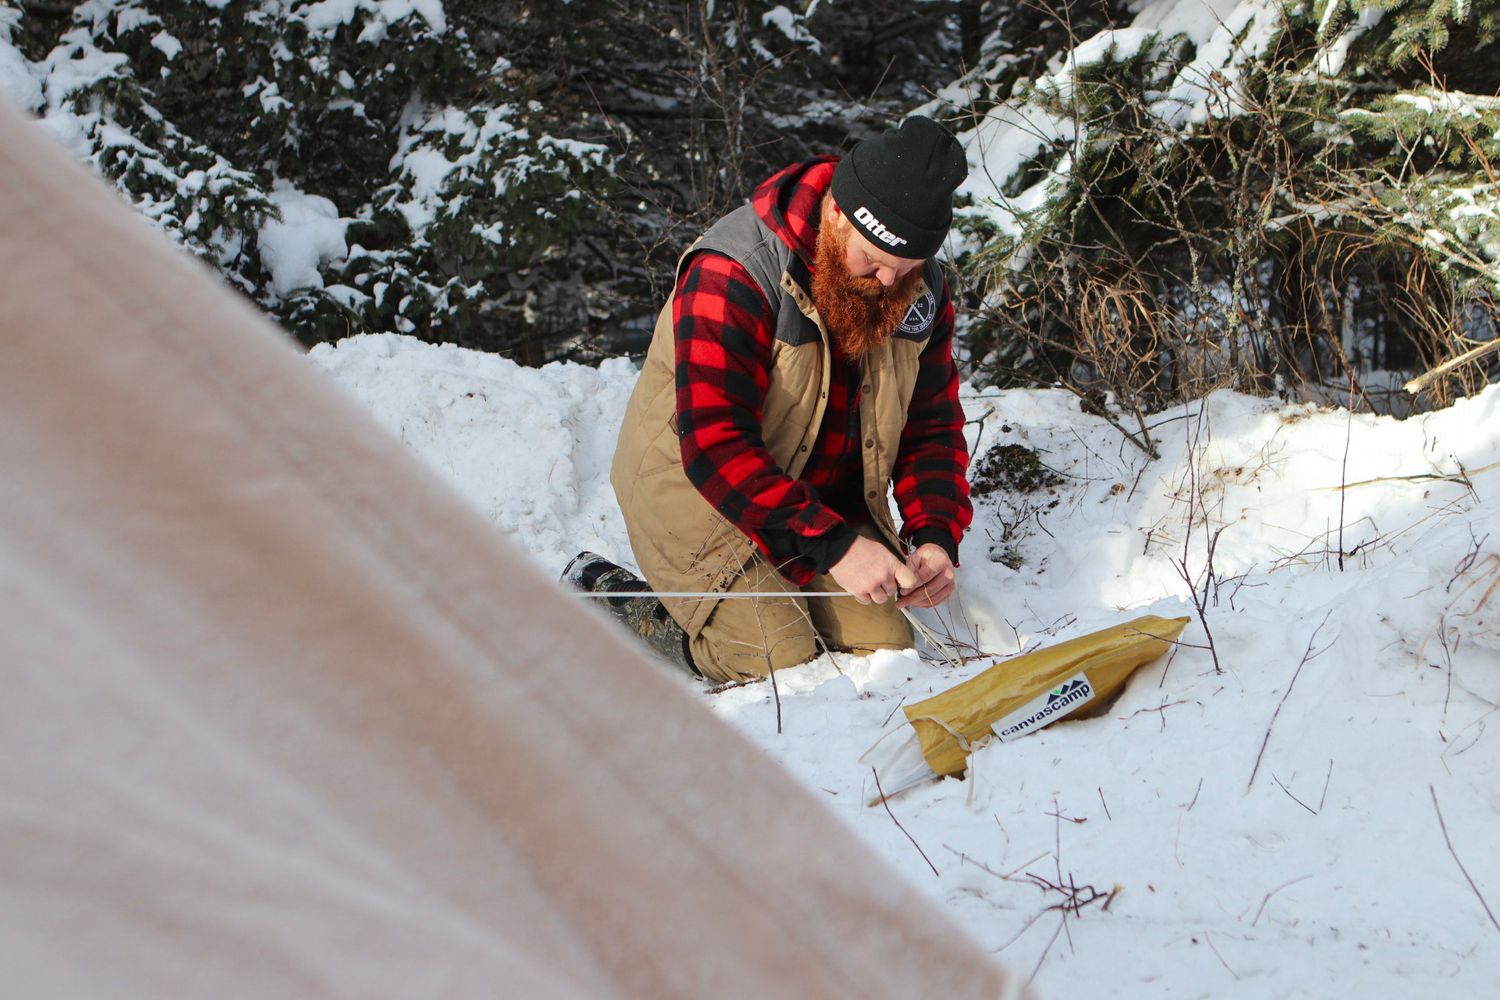
Tips for Staking and Anchoring The Tent In Winter
Pre-Heating the Ground
- Hot Water: Pouring hot water over the area where you plan to drive in the stakes can help thaw the top layer of soil, making it easier to insert the stakes. Be careful not to use too much water, as it can refreeze and make the ground harder or create ice around the stake.
Mechanical Assistance
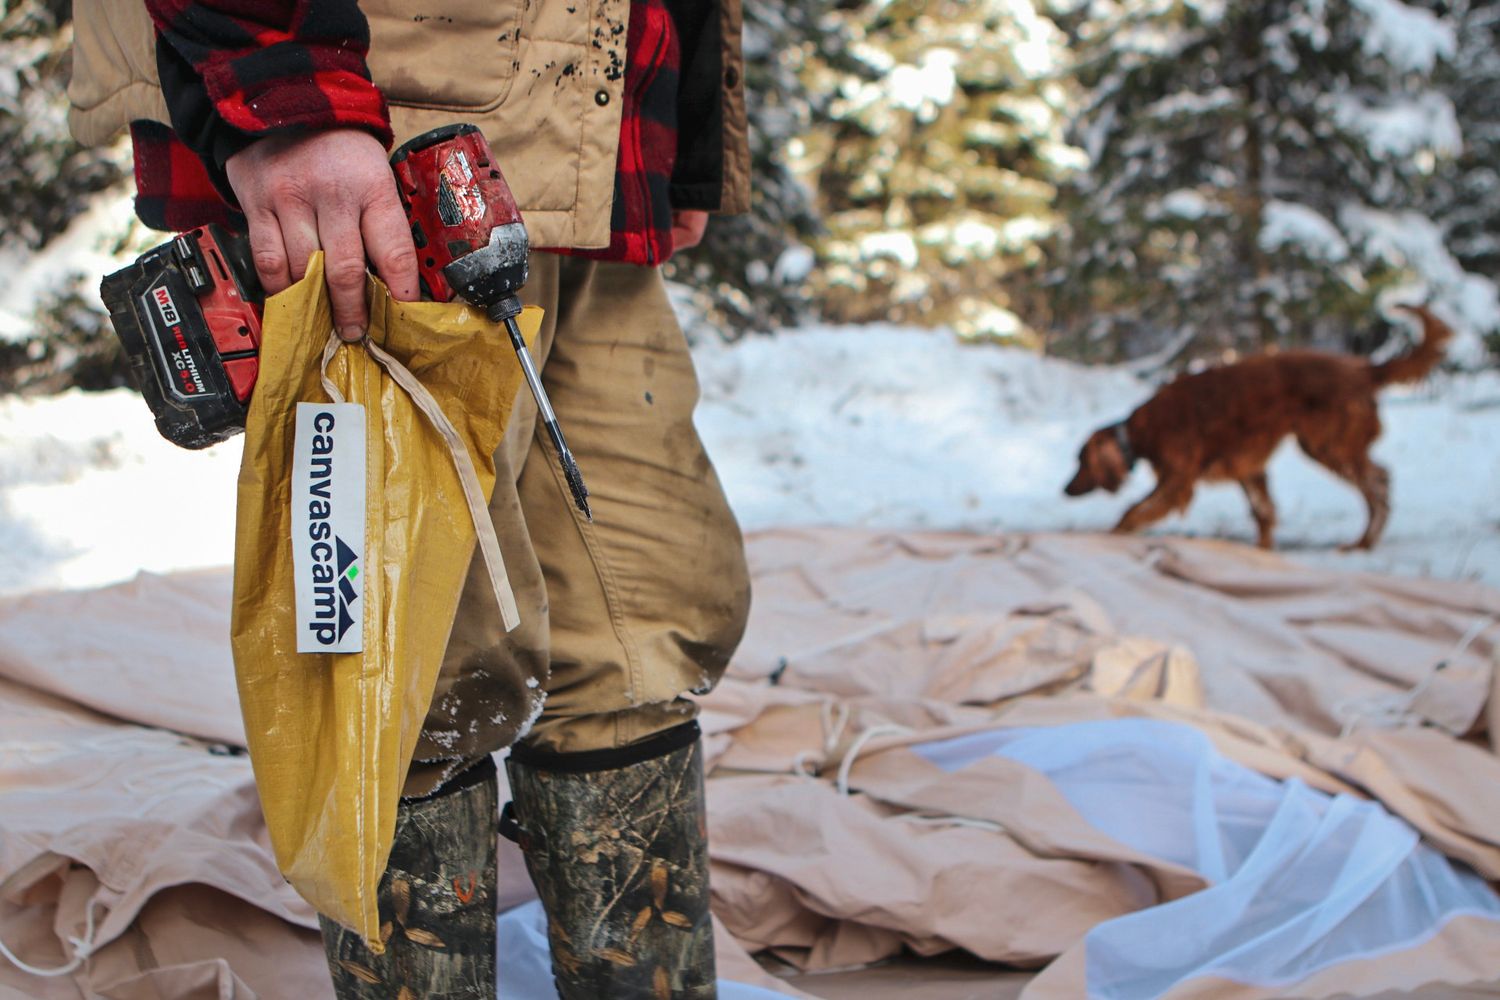
- Drill with Auger Bit: A cordless drill equipped with an auger bit designed for ice or hard soil can effectively create holes for your stakes. Be sure to select a bit slightly smaller than your stake for a snug fit.
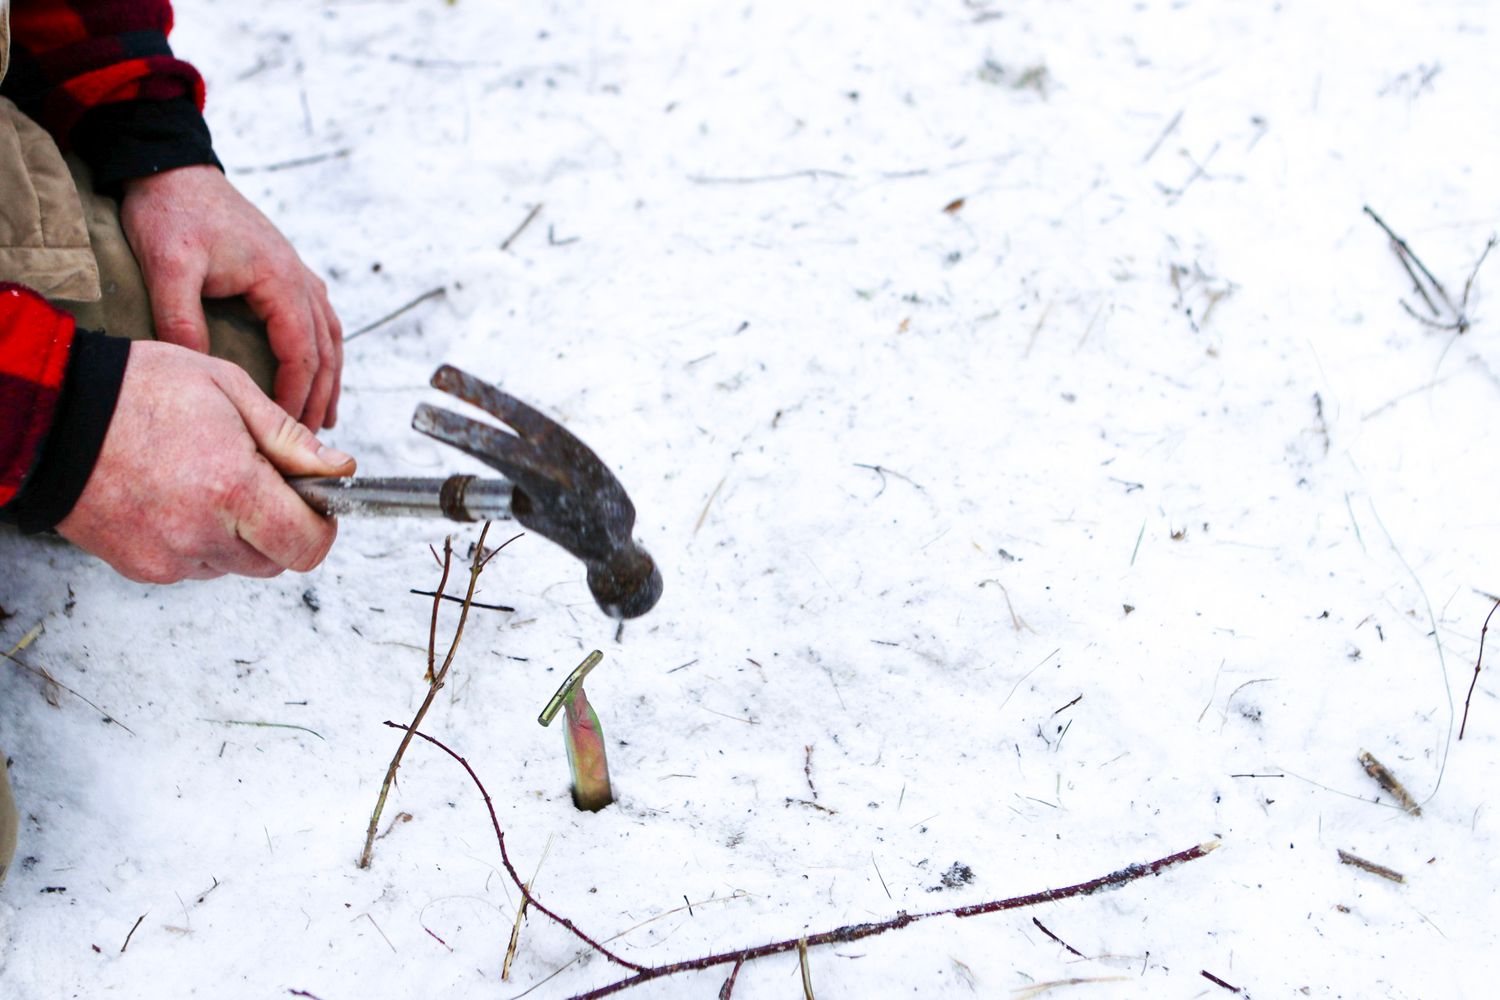
- Hammer or Mallet: Using a heavy-duty hammer or mallet can provide the force needed to drive stakes into frozen ground. Be cautious to strike the stakes squarely to avoid bending them.
- Screw-in Ground Anchors: These can often be screwed into frozen ground with less effort than driving in traditional stakes. They are especially useful for securing the corners of your tent.
Alternative Anchoring Methods
- Snow Anchors: For deep snow conditions, use snow anchors or "deadman" anchors. Bury a bag, piece of wood, or another anchor in the snow, pack the snow tightly around it, and attach your guy lines. The compacted snow will hold the anchor in place.
- Rocks or Logs: In areas where you cannot penetrate the ground, use heavy rocks or logs to anchor your tent. Place them on the guy lines or directly on the edge of the tent fabric to secure it against the wind.
Wood Stove Use and Safety
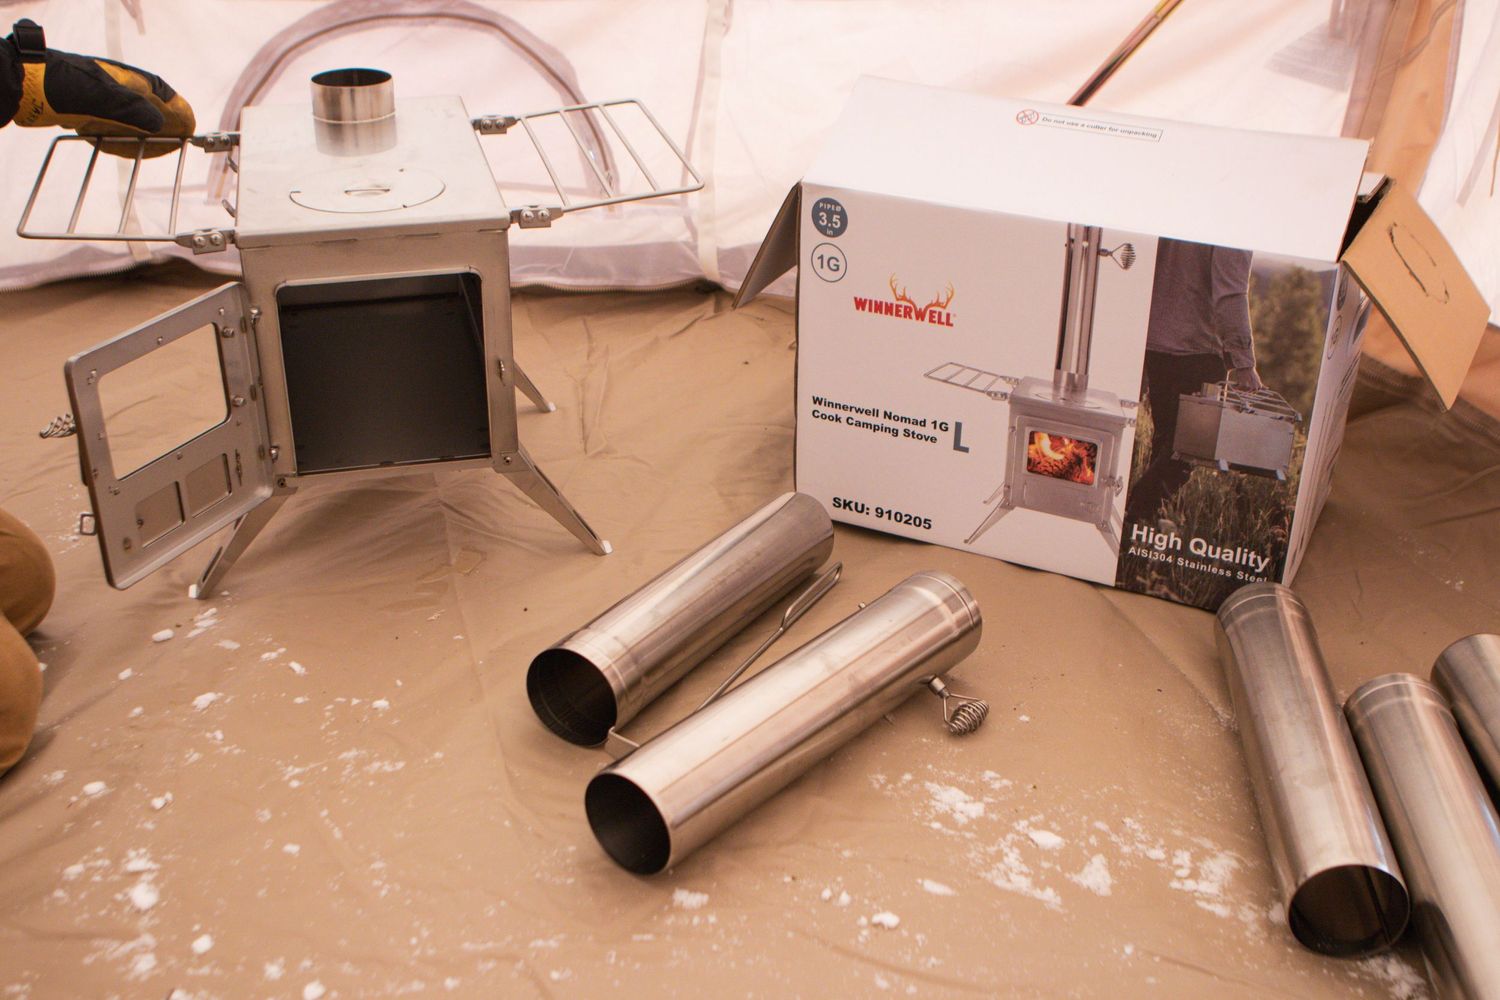
Safety First: Only use a wood stove designed for use in canvas tents, and ensure there's enough clearance around the stove to prevent fire hazards. Follow the manufacturer's recommendations for installation.
Stove Jack: Your tent needs a stove jack (a heat-resistant opening) for the stovepipe to exit the tent safely. Make sure it's properly installed and sealed around the pipe.
Fireproof Mat: Place a fireproof mat under and around the stove to protect the tent floor and reduce fire risk.
Carbon Monoxide Detector: Always have a battery-operated carbon monoxide detector inside the tent when using a wood stove.
Dry Wood: Bring enough dry, seasoned wood for your trip. Wet or green wood produces more smoke and less heat.
Chimney Sweep: Regularly check and clean the chimney to prevent soot build-up and reduce the risk of chimney fires.
Ash Management: Have a metal container with a lid to safely store ashes until they cool down completely.
Installing the Wood Stove
Cutting a hole in your canvas tent for a stove pipe is a critical step in setting up a wood stove safely. It's important to do this correctly to maintain the structural integrity of the tent and to prevent any fire hazards. Here's a step-by-step guide:
Determine the Location
- Stove Position: Decide where inside the tent you will place the stove. There should be ample clearance from the sides and top of the tent to prevent fire hazards.
- Check Manufacturer Guidelines: Refer to the stove and tent manufacturer's guidelines for the recommended distance from the tent fabric.
Mark the Spot
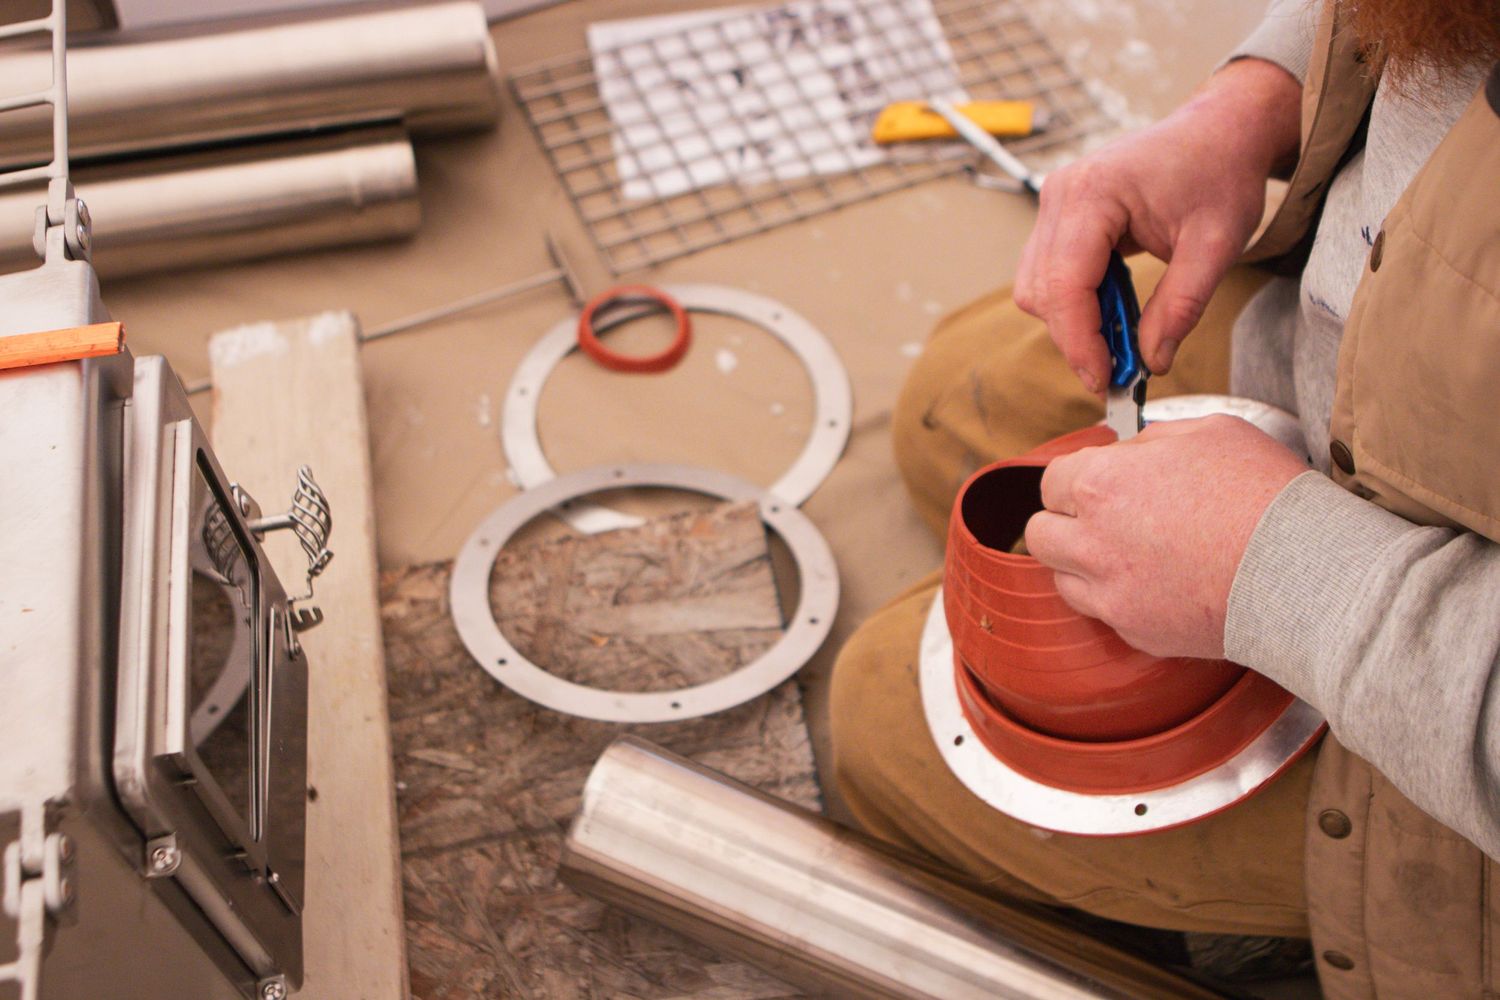
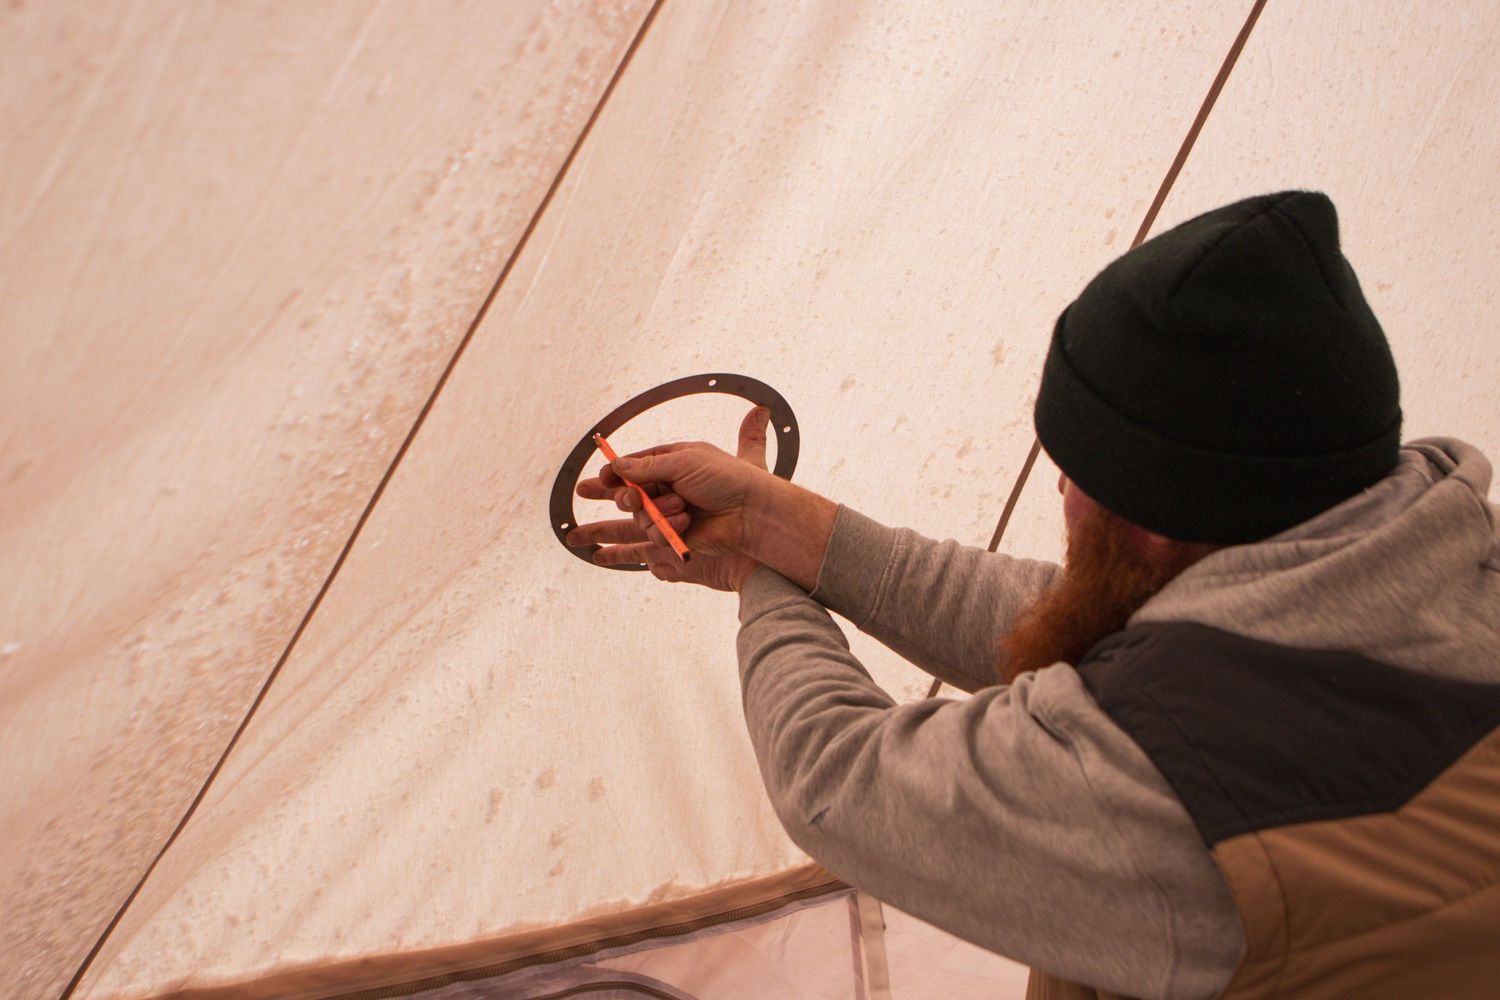
- Stove Jack Placement: Once you've determined the position for your stove, place the stove jack (a fire-resistant material that allows the stove pipe to safely exit the tent) against the canvas where you want the pipe to exit.
- Trace the Opening: Trace the inner circumference of the stove jack onto the canvas. This will be your cutting guide.
Prepare to Cut
- Protect the Canvas: Place a cutting board or a piece of thick cardboard inside the tent behind the area you're going to cut to protect the rest of the tent from accidental damage.
- Tools: Ensure you have a sharp utility knife or fabric scissors for a clean cut.
Make the Cut
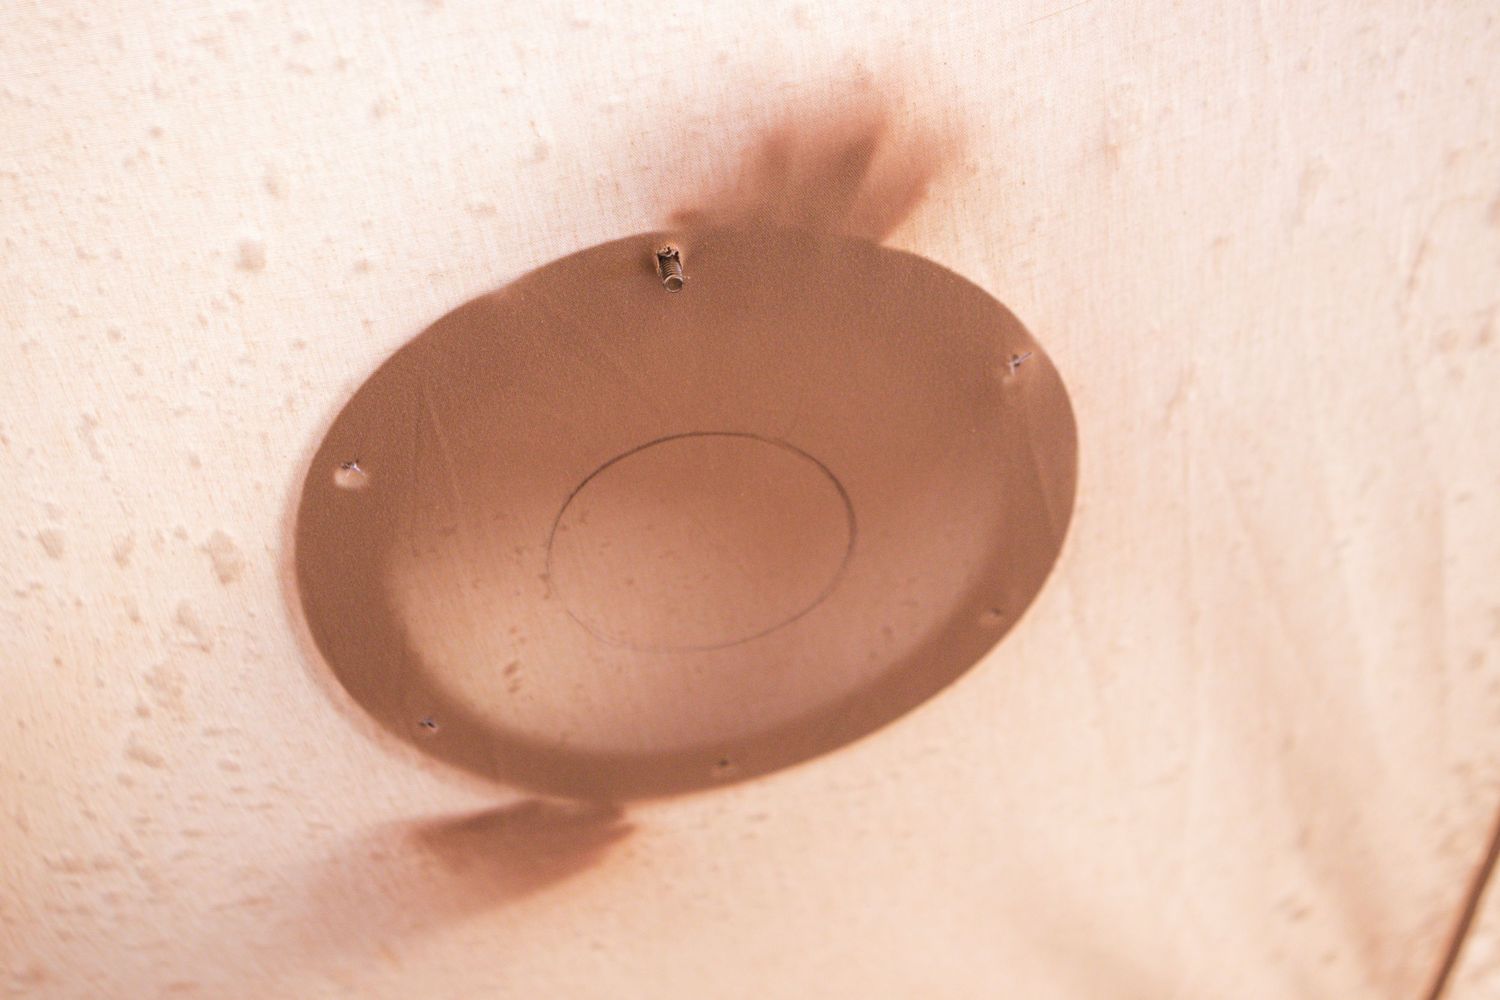
- Cutting: Carefully cut along the traced line. It's better to cut a smaller opening initially; you can always enlarge it if needed, but you can't make it smaller once it's too large.
- Precision: Take your time to follow the line closely to ensure a snug fit for the stove jack.
Install the Stove Jack
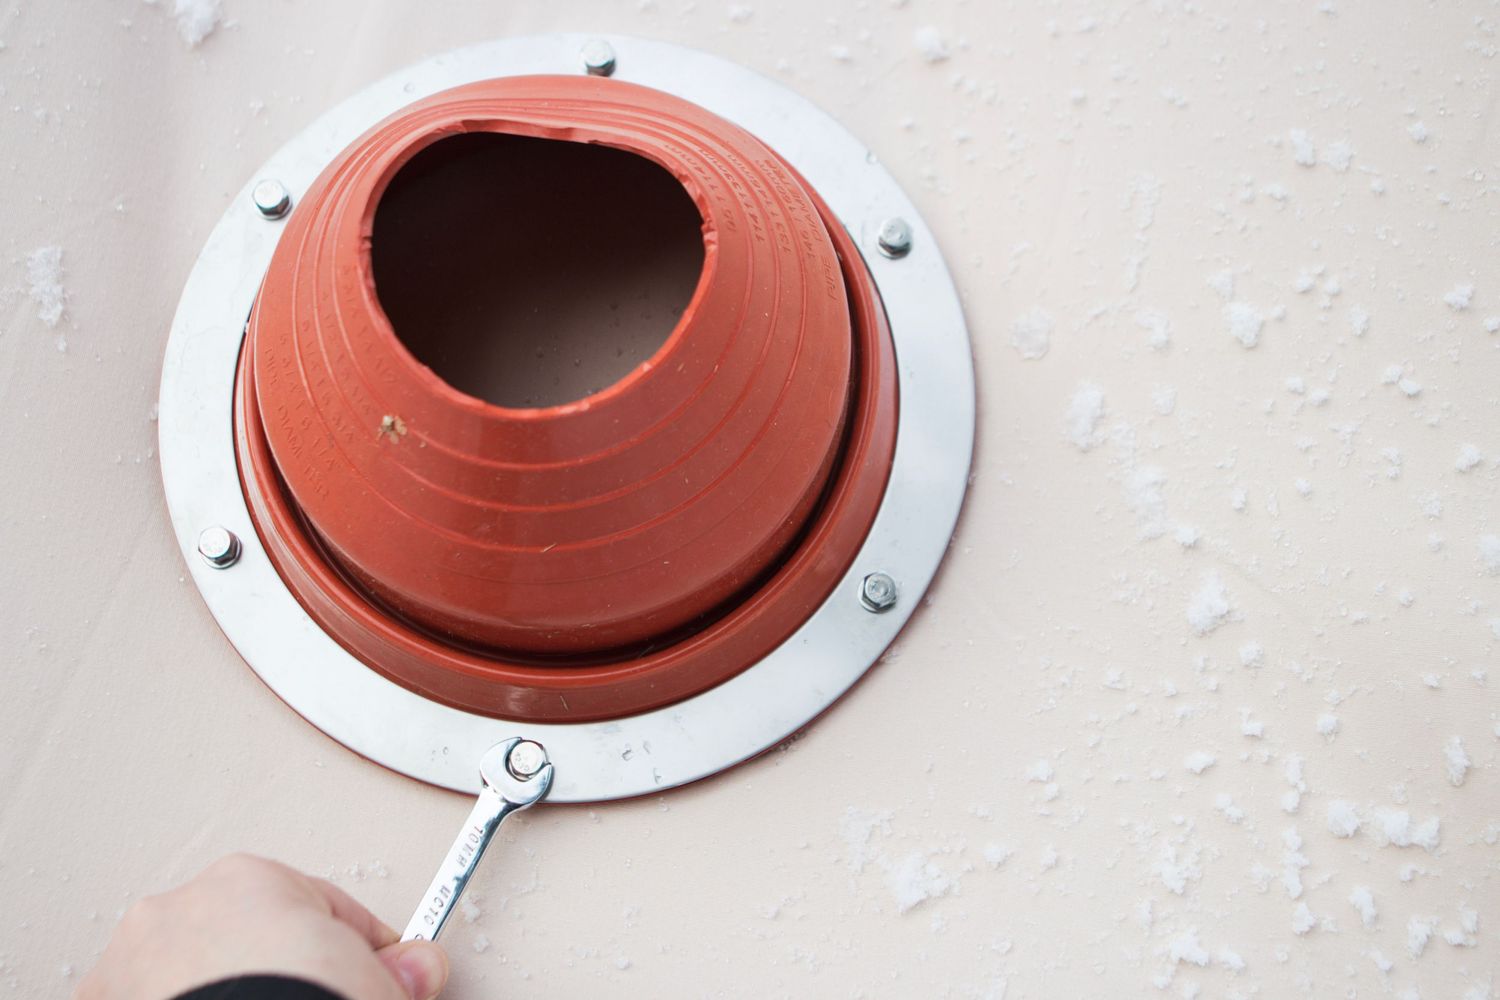
- Follow Instructions: Each stove jack might have a slightly different installation process. Generally, it will involve placing the stove jack over the hole from the inside or outside of the tent and securing it in place.
- Seal and Secure: Use high-temperature silicone or a similar sealant around the edges of the stove jack to prevent water ingress and to secure it firmly to the canvas. Ensure any seams are sealed and reinforced to maintain the structural integrity and waterproofness of the tent.
Install the Stove Pipe
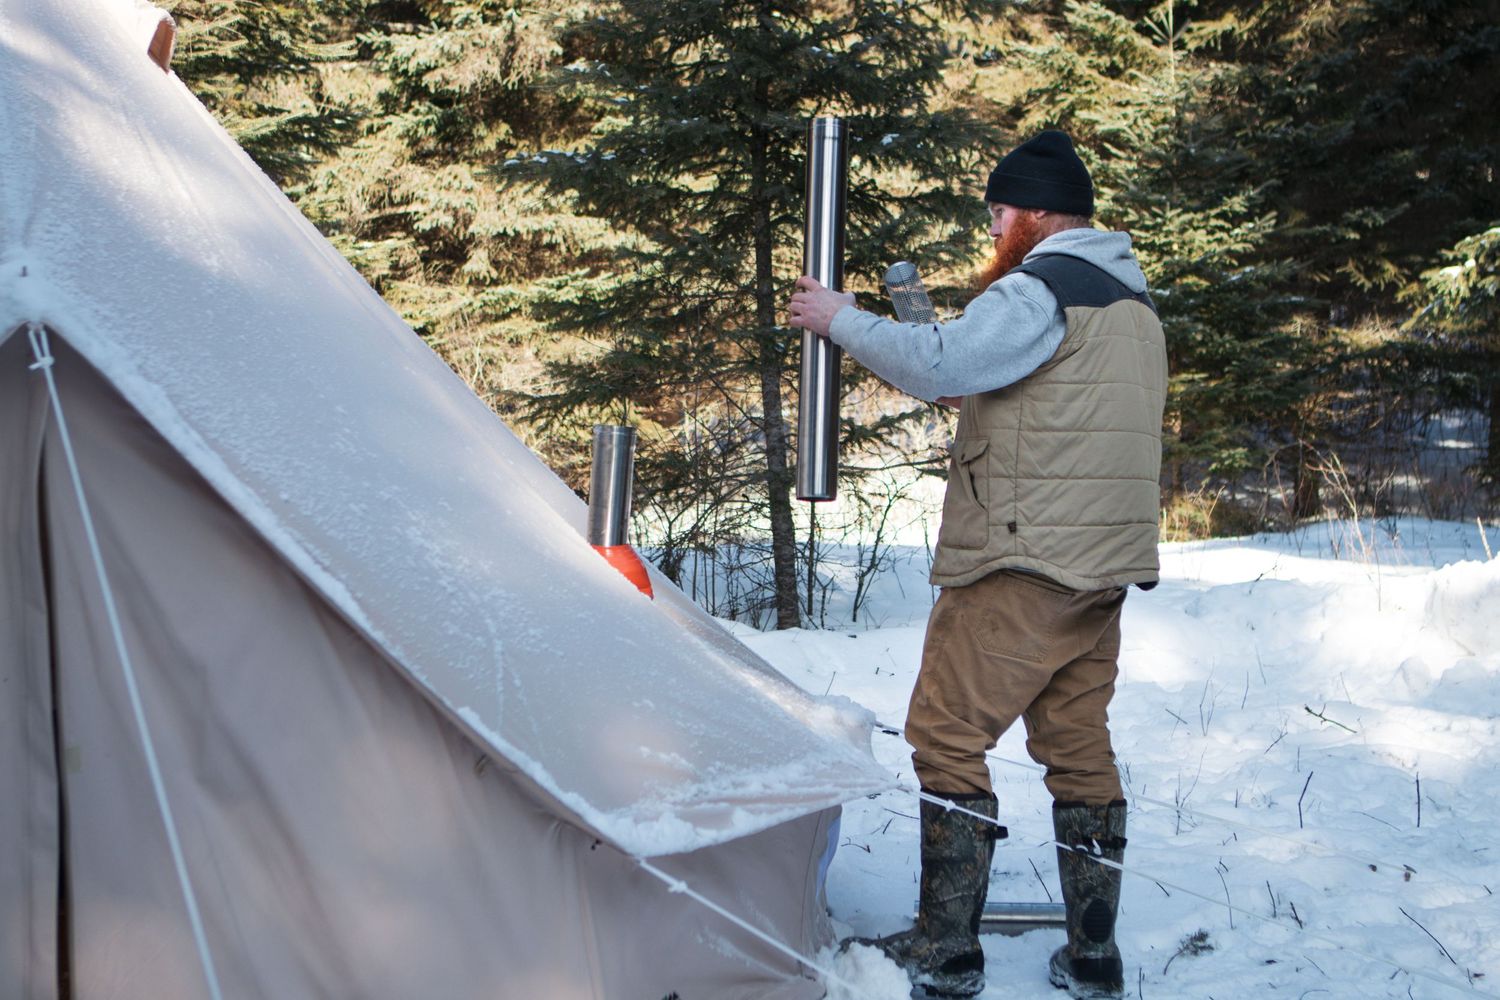
- Pipe Through: Carefully insert the stove pipe through the stove jack, following any manufacturer's guidelines for assembly and clearance.
- Secure the Pipe: Ensure the pipe is securely fastened to the stove and has enough clearance from the tent fabric in all directions. Use pipe supports if necessary to stabilize the chimney, especially in windy conditions.
Safety Checks
- Inspect Regularly: Regularly check the stove jack, stove pipe, and surrounding canvas for signs of wear, damage, or heat impact.
- Smoke and Carbon Monoxide Detectors: Always have working smoke and carbon monoxide detectors in the tent when using a wood stove.
Important Considerations
- Warranty and Safety: Cutting into your canvas tent may void its warranty. Check with the manufacturer before making modifications.
- Professional Installation: If you're unsure about doing this yourself, consider hiring a professional or purchasing a tent that comes with a stove jack pre-installed.
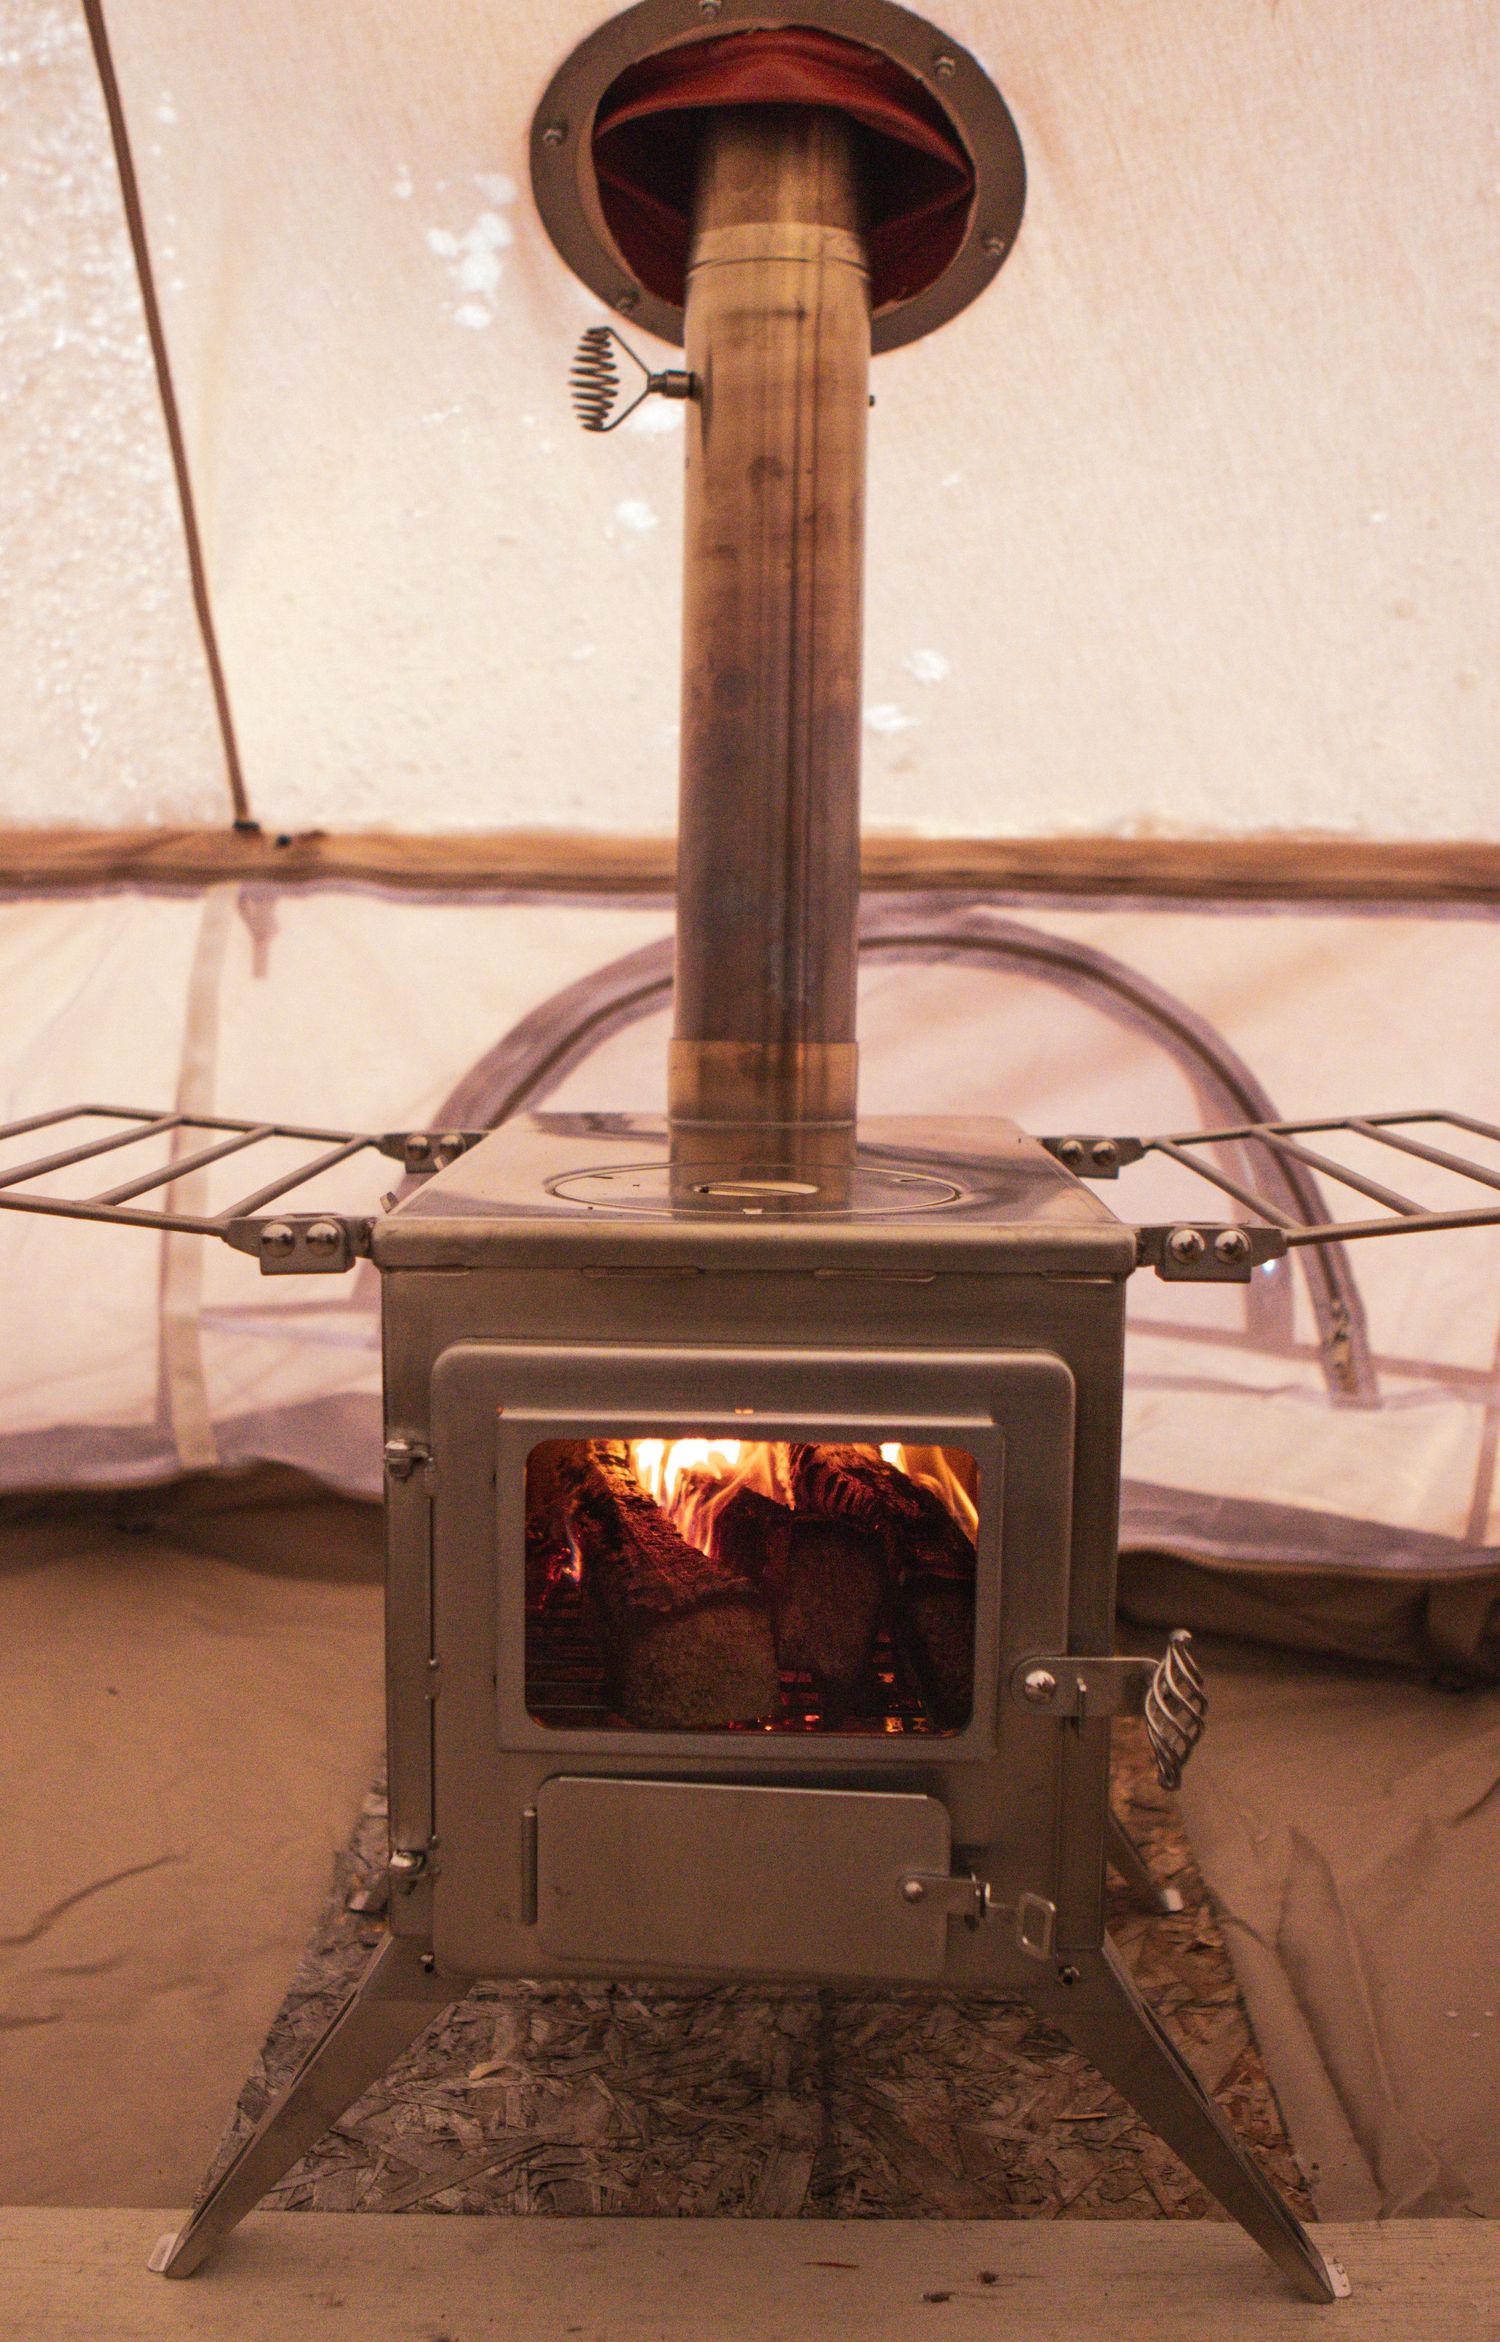
Essential Tools for Setup and Maintenance
- Shovel: For clearing snow from your chosen tent site and for digging out any snow that accumulates around the edges of your tent. A shovel can also be useful for creating windbreaks or water diversion paths.
- Drill and Auger Bit: A cordless drill with an auger bit suitable for ice or hard ground is invaluable for making pilot holes for your tent stakes in frozen ground.
- Hammer or Mallet: Necessary for driving stakes into the ground. A rubber mallet is less likely to damage your stakes compared to a metal hammer.
- Broom and Dustpan: Handy for sweeping snow and debris out of your tent. Keeping the interior clean can also help reduce moisture buildup inside.
- Pencil or Marker: For marking the canvas where you will cut the hole for the stove pipe. Choose a marker that is visible on your tent's fabric.
- Knife or Fabric Scissors: A sharp knife or a pair of heavy-duty fabric scissors will be needed to cut the canvas for the stove pipe installation. Ensure the tool is sharp enough to make a clean cut.
Additional Recommended Items
- Tape Measure: For measuring distances between the stove, the tent walls, and the location of the stove pipe exit to ensure everything fits correctly and safely.
- Fireproof Mat: To place under and around the stove for added protection against sparks or embers that could pose a fire risk.
- High-Temperature Silicone Sealant: For sealing around the stove jack once installed, ensuring a watertight and smoke-tight fit.
- Stove Jack with Flap: If not already part of your tent, a stove jack is essential for safely routing the stove pipe outside. A flap over the stove jack can prevent water or snow from entering when the stove is not in use.
- Carbon Monoxide Detector and Smoke Alarm: Safety devices that should always be used when operating a wood stove inside a tent.
- Fire Extinguisher and Bucket of Sand: For quickly addressing any fire-related emergencies. Sand can be particularly effective for extinguishing embers or sparks.
- Warm Gloves: Protect your hands from the cold, especially when handling metal stakes or tools.
- Ash Bucket: An essential item for safely managing and disposing of ashes from your wood stove. Choose a metal bucket with a tight-fitting lid to contain any embers and prevent them from reigniting or causing a fire hazard. The lid also helps to keep the area tidy and prevents ash from being blown around by the wind. Always allow ashes to cool completely before disposal.
- Tent Repair Kit: Despite careful setup and maintenance, accidents and wear can occur, especially in the challenging conditions of winter camping. A tent repair kit should include:
- Fabric Patches: For repairing holes or tears in the canvas. Select patches that match the tent fabric or are specifically designed for canvas repair.
- Sewing Kit: A heavy-duty needle and strong thread suitable for canvas material can be crucial for on-the-spot repairs.
- Extra Guy Lines and Stakes: Harsh winter weather can put additional strain on your tent's anchoring system. Having spares allows for quick replacements or reinforcements.
- Waterproof Seam Sealer: To maintain the waterproof integrity of your tent, especially if you've had to make fabric repairs.
- Duct Tape: A versatile, temporary fix for many issues, from minor tears to reinforcing areas around grommets or poles.
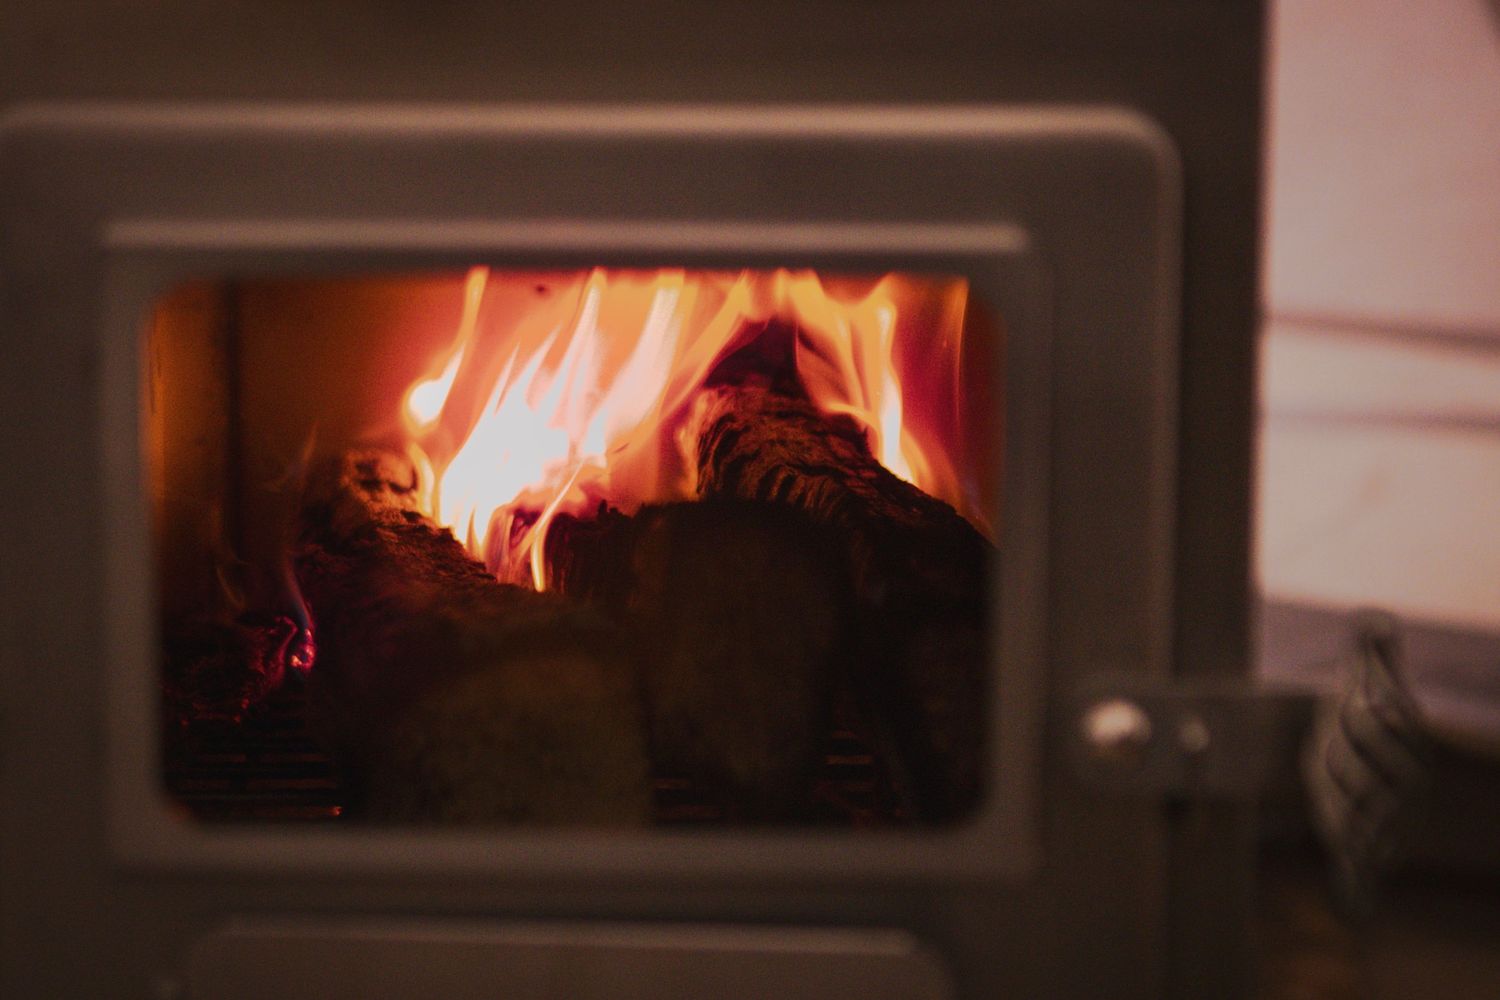
General Tips
- Practice First: Set up your tent with the wood stove at home or in a controlled environment before your trip to familiarize yourself with the process and ensure all components work correctly.
- Weather Awareness: Keep an eye on the weather forecast and be prepared for changes. Heavy snowfall can weigh down your tent, and extreme cold can affect your health.
- Emergency Plan: Have a fire extinguisher, water bucket, and first aid kit readily available in case of emergencies.
